

As I have talked about in the past, each year I try to push myself into a creative project that gets me out of my comfort zone. When I decided to retire, I know I would lose access to some really nice equipment that was (for the most part) rarely used. I wanted to engage my students in a final project for the end of the school year and challenged myself at the same time. “Design something using the laser cutter or 3D printer based on something from Pop culture that you like” this was the assignment. A way to get them to work in CAD and try something new. Like anything dealing with technology the assignment had to be changed as the technology advanced. In this case TinkerCAD the entry level online CAD application we were using had just added a simulation part to their interface. So you could simulate how things would behave in real life. So for many of the students who (I don’t know why, but I have my guesses) couldn’t come up with a cartoon character, or something from a video game they wanted to make I added make a carnival game that you can’t win or a marble run. The last few days when most students were done, they were challenged to make Sponge Bob Squarepants. Only one student cheated by finding and copying a file, everyone else tried and did a pretty good job.
This leads me to my project… The third (“and final”) season of Picard was airing while this assignment was going on, so I decided I would try to make the U.S.S. Enterprise, NCC-1701 “no bloody A, B, C, or D.” With the addition of “Strange New Worlds” the Enterprise had changed since that original design I first saw growing up in California. I was such a geek I would proudly carry around my copy of the technical manual scouring over it during recess. So I decided to finally finish the project I tried and failed with in Industrial Arts in Middle School, a model of the Enterprise. For transparency, I had the full plans of the refit from the film in 8th grade and just didn’t have the technical skill or the time (mostly the skill) to get past making the saucer out of wood. This time it would be different.


I decided to start by not trying to be exact. I know I have a certain “style” to my art and decided I would just have fun with it, making it a lot more cartoon in its proportions. I took one class period (when I did not have students and threw together a quick model that was recognizable. Then I copied it and started working through adding details and cleaning it up. Iteration 2 wasn’t too bad and I felt from there (after learning how TinkerCAD behaves on an iPad) I was ready to print off a trial.
One thing I knew was our filament based printers weren’t perfect. In fact, they were great in certain circumstances, but in many others they lacked certain abilities. For the record The school had Dremel 3D40 printers using the stock Dremel software to slice .stl files from TinkerCAD. I knew that the software would build scaffolding to support the build and that it would need to be torn off. Also I knew this would be difficult since I had my share of scars from doing this with student projects in the past. I took the design and created various parts to reduce the scaffolding and from there printed a small version to see how it fit together. While it did work… It wasn’t as good as I had wanted. I had the fill set to be more hollow so as I removed the supporting elements the skin was not as strong. Basically the bottom of the saucer was “squishy.” So it was back to TinkerCAD and see what I could do. It was here where I added a few more details, just to see how they would work out.
My next print truly demonstrated on of the limitations as I had taken the saucer section and split it in half when printing so I wouldn’t have as much that needed to be torn away. Unfortunately, the portion of the saucer that should have stuck to the build plate, rose up giving it a curved bottom which would not stay flush with the other half- this led me to going to the dreaded hobby shop and look for things modelmakers use, and things I haven’t played with since I was maybe 12. I bought sandpaper, plastic model cement, and putty to fill in the gaps. This would not be my last trip to the hobby shop- I was going step by step not realizing how much stuff I would need for one “simple” project.
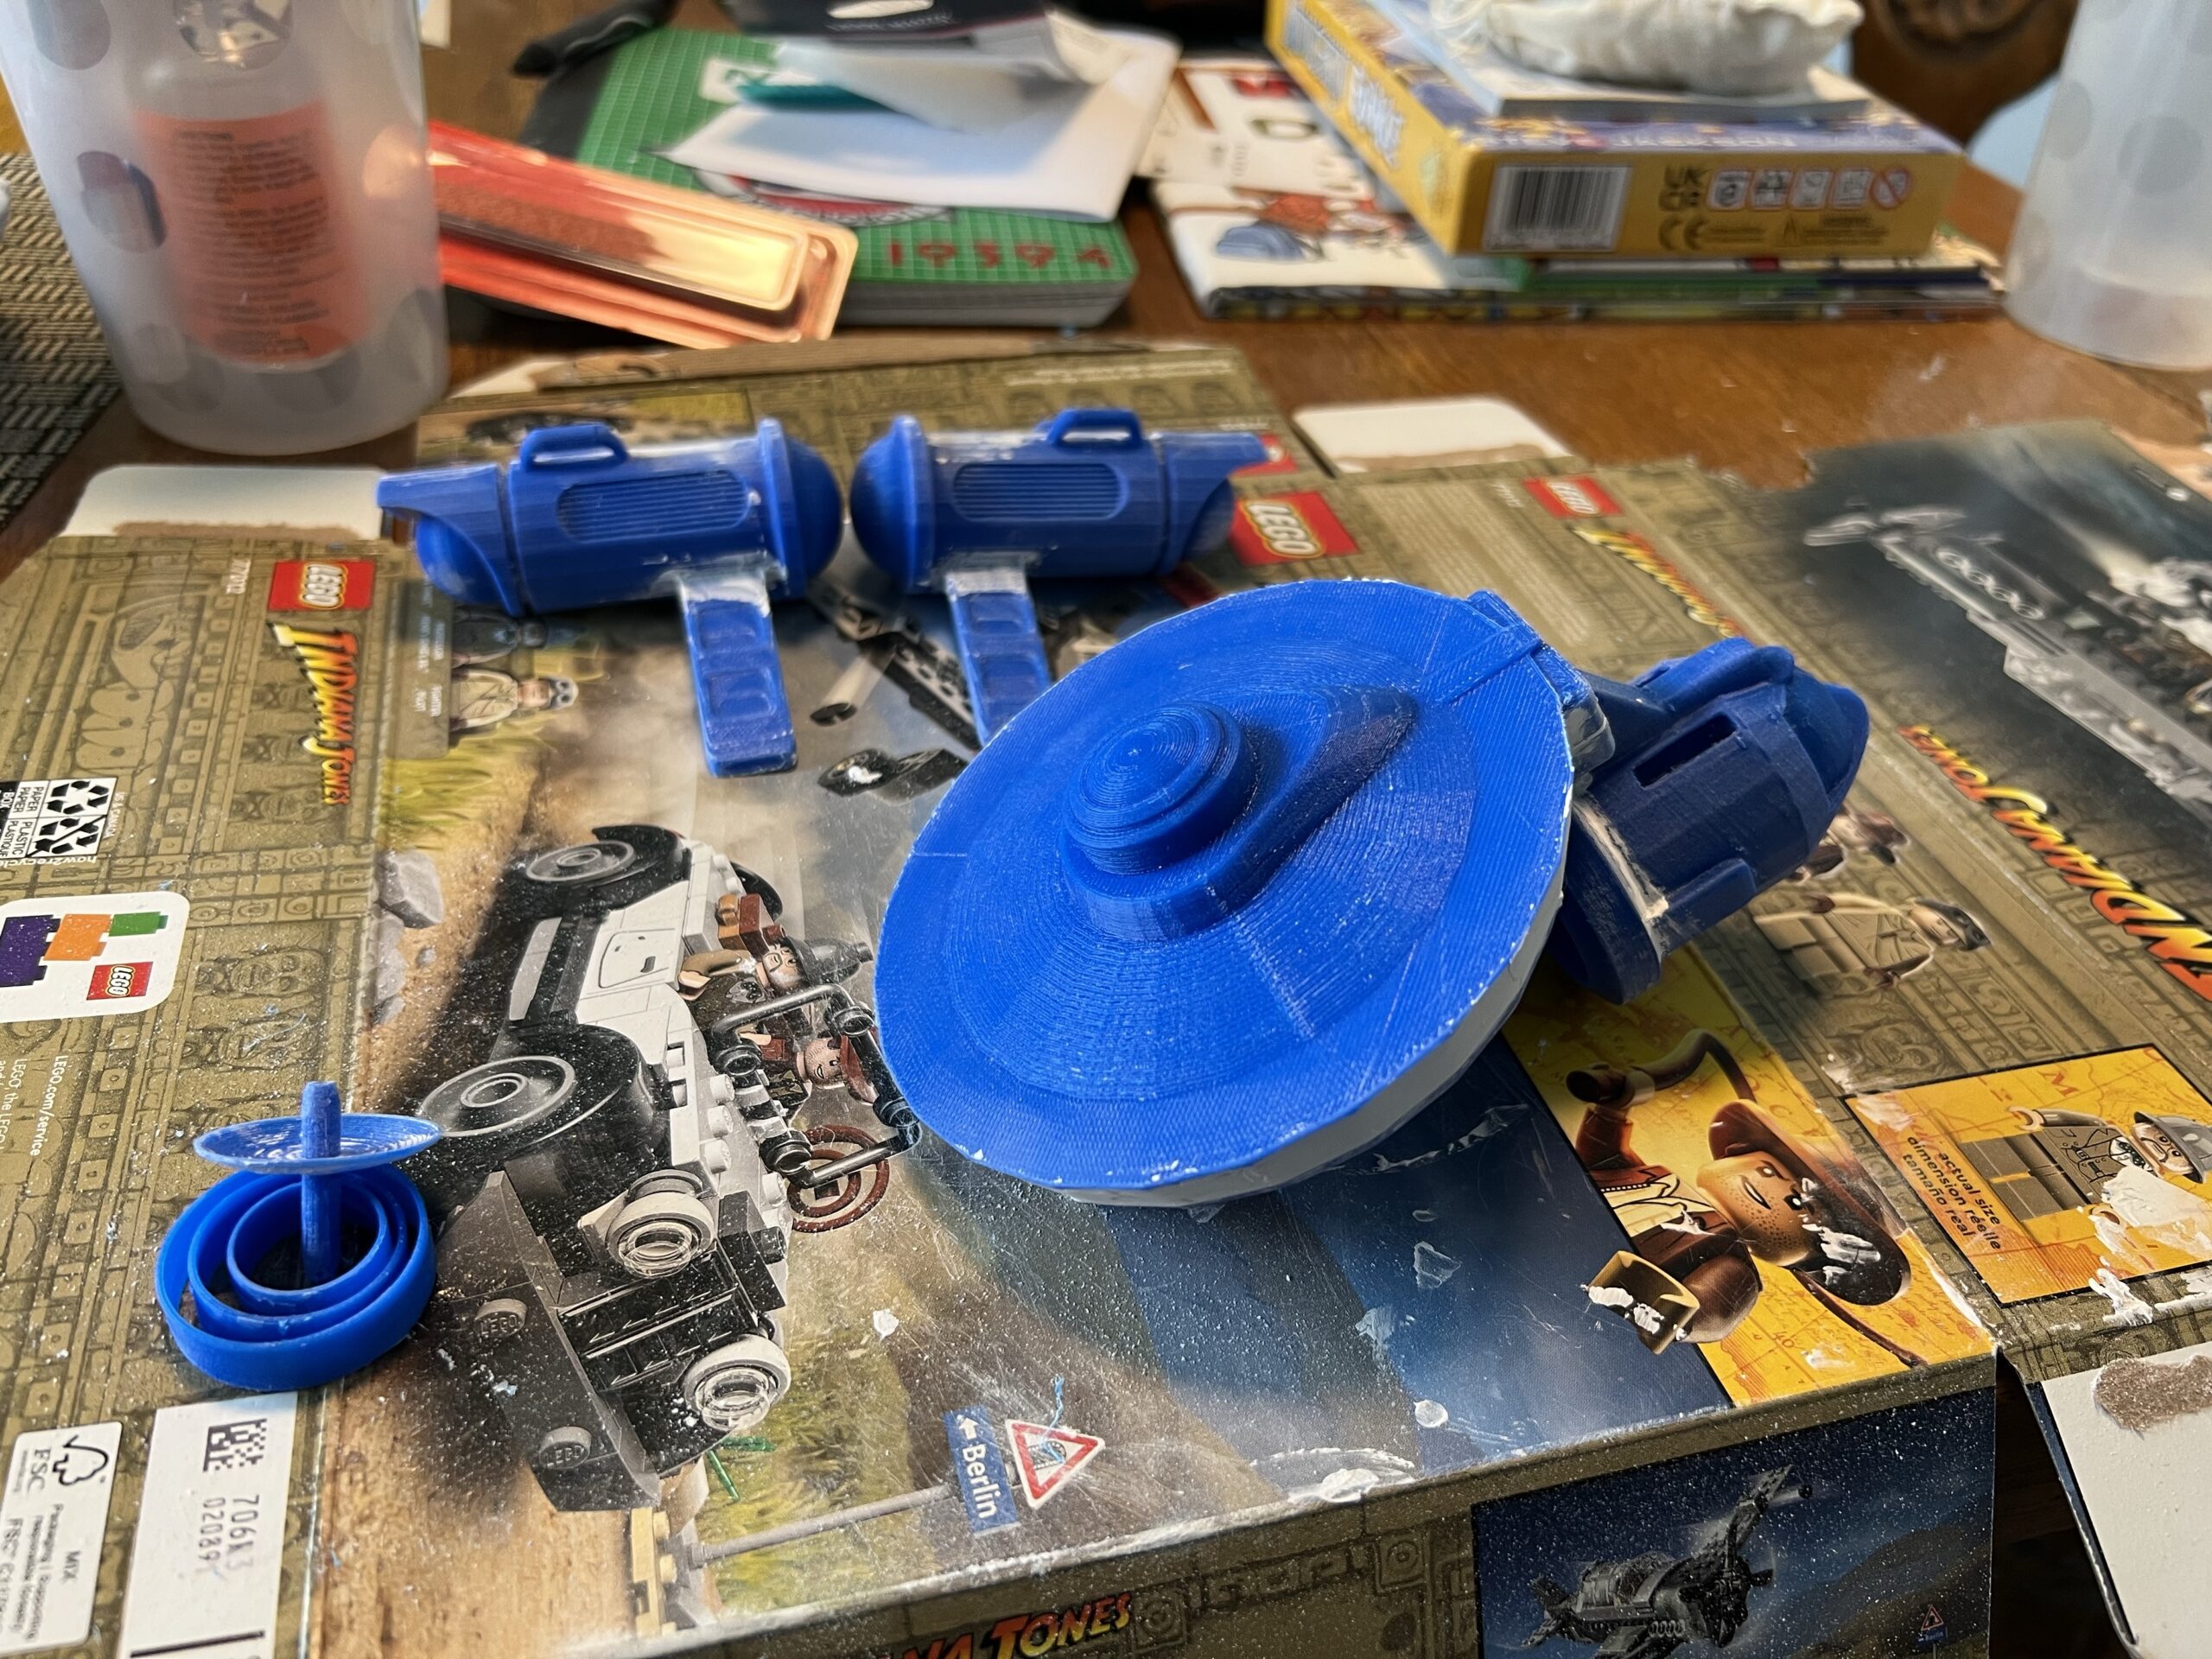
I was really excited about how it was coming together, although I knew there was a lot of work needed to be done. The biggest question was: Are my fixes working? The only way to tell would be to head back to the hobby store and get paint. I started with simple grey primer. and sprayed parts as I worked on them, sanding down parts and realizing that it would take forever to smooth all the ridges formed as the filament went around and around. The other issue would be the flat sections which were part of an intro level CAD app like TinkerCAD. Some of these I was willing to live with, figuring that I could always go back and improve the file later.


Once I thought I was done fiddling with the sandpaper and putty it was time to head back to the hobby store to get paint. Now when it comes to paint, I need to be clear, I was doing this as economically as i could. I was not going to invest in an airbrush (still have nightmares about airbrushes from middle school- my parents told a teacher that I would be happy to give a presentation on how airbrushes work… I had only watched my dad use the airbrush, so when it would work and I was embarrassed in front of the entire class… well middle schoolers can be cruel and back then, they were. This started my extreme belief to always have multiple back up plans whenever dealing with technology). I had stuck with simple spray paint and then started looking for the correct shade of blueish grey for the Enterprise… um, they didn’t have anything like what I wanted, so I went with whatever was closest… which ended up being almost the exact same color as the primer. I also started pulling paint for the other portions that needed painting. trying to stick with basic colors. Oh, a brush and paint thinner were also needed. One thing I had forgotten about over the years was how badly the fumes from this stuff permeate a room. I tried painting in the basement, but quickly moved to the garage with the doors open.


So, how was I going to add the lettering? I could purchase decals from another model, but those would be made for a certain scale ship, and definitely not the one I had made. Back to the hobby shop. I discovered that they now make decals that go through a printer. I have a simple black and white laser printer so I bought the kind that work in a laser or copy machine. Then I had to create the files. and now the geek comes out. OK so there is an “official” Start Trek font, there is also a “Federation” font like the one used on ships since Star Trek: The Motion Picture. The font used in the original series, was pretty much simple sans-serif military font, like those found on naval ships. Was going to try to be accurate, or was I going to go with whatever I wanted. I then looked at what was happening in Strange New Worlds and the font there is somewhat of an amalgam of the two, leaning more towards the later films and shows. I was scared, since the instructions all mentioned putting a layer of decal protection stuff over the decal so it wouldn’t smear, or whatever. I decided to throw caution to the wind and just go for it. I still need to deal with the color portion of the design (the red stripe and yellow chevron) but so far…


Now I just need to figure out how to properly display it once I add the color graphics to it. I’m also looking at fiddling around with a silver paint pen, but as always I’m a little apprehensive – then again what’s the worst thing that could happen?